

My place is 450 square feet. The first morning after moving in, I opened the one closet the landlord had built and stared at it for about thirty seconds. It was the size of a small refrigerator. I had two suitcases, three boxes of books, a winter coat, and a vacuum cleaner. The math did not work.
I spent the first month doing what most people do in a small apartment. I bought a couple of plastic bins from the discount store. I stacked them in the corner of the bedroom. Within a week, the corner looked like a recycling depot and I was stepping over the bins to get to the window. I bought another bin. The problem got worse, not better.
The thing I wish someone had told me up front is that storage in a small apartment is not about buying organizers. It is about two things in order: getting rid of what you don't actually use, and then finding the empty space you already had but weren't using. Organizers come third.
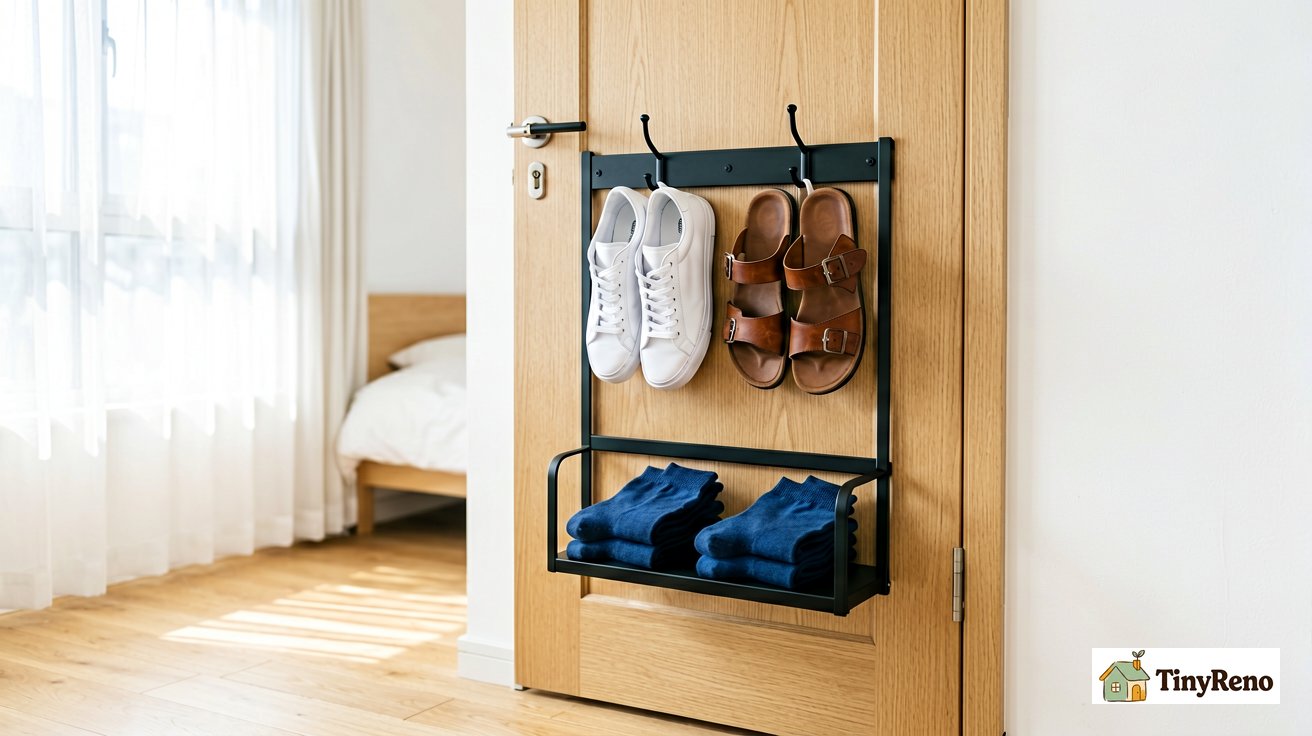
Twenty fabric pockets on the back of a bedroom door hold about ten pairs of shoes without taking up any floor space.
The first move: remove before you organize
I went through my clothes and pulled out anything I had not worn in the past year. That was eight t-shirts, two jackets, a pair of jeans I had been keeping for "when they come back in style," and a stack of books I had already read. I donated everything to the place two blocks away that has a drop box.
I went through the kitchen the same way. Two unopened small appliances, three mugs that did not match anything, a blender I used once in 2019. Out.
By the end of a weekend I had gotten rid of about a third of what I had moved in with. The apartment did not feel emptier. It felt like I had actual room to put things away.
If you skip this step, every organizer you buy becomes a container for stuff you don't need, and the problem shows up again three months later when the bins overflow.
Organizer 1: over-the-door fabric pocket organizer
The single highest-impact move in my apartment was hanging a twenty-pocket fabric organizer on the back of the bedroom door. The pockets are tall enough for sneakers, wide enough for flats, deep enough for sandals. Each pocket holds one pair. I have eleven pairs of shoes on it.
Before this, four pairs were on the floor by the door and the rest were under the bed or in the closet floor. After this, every shoe is on the door. The floor is clear. The door still closes all the way.
The thing to know is that the pocket organizer comes in two versions: clear plastic and fabric. The clear plastic looks tidy for about a week, then you can see every speck of dust inside every pocket, and once one falls off the door the rest start sliding down. The fabric version, usually a dark gray or black canvas, hides dust, grips the door better, and has held up in mine for over a year with no signs of wear.
The downside: the door hook has to clear the door frame at the top. On most hollow-core apartment doors this is fine. On heavy solid doors, the gap is smaller and you may need to bend the hook slightly.
Organizer 2: tension rods inside cabinets
A tension rod is a small spring-loaded pole, the kind you usually see in a shower. Put one inside a cabinet and it turns one shelf into two.
I use one in the kitchen cabinet where I keep spices. Without the rod, the cabinet has one shelf and about a third of the back half sits empty because nothing fits back there. With the rod set horizontally a few inches below the shelf, I have a second tier. Small jars stand on the upper shelf, taller bottles hang from the rod by their caps or sit on top of it. The cabinet went from holding eight items to holding about twenty.
The same trick under the bathroom sink turns the front edge into a hanging rail for spray bottles. The bottles drape over the rod and the cabinet floor stays clear for taller things.
Tension rods come in chrome and stainless steel. Chrome is cheaper but rusts in two seasons if it gets wet. Stainless costs three or four dollars more and lasts years. Worth it for the bathroom rod, not critical for a kitchen cabinet.
Organizer 3: under-bed rolling storage bins
Most bed frames have between four and eight inches of clearance underneath. That space is wasted unless you can fit something flat in it. Flat rolling bins, the kind with a lid and four small wheels, are made for this.
I use eight of them under my bed. Four hold off-season clothes, two hold extra bedding, one holds shoes I rarely wear, one holds cables, batteries, and the random cords that accumulate in every apartment. Eight bins, all visible at a glance because I can roll each one out.
The thing to check before buying: measure the gap from the floor to the bottom of your bed frame at its lowest point. Most cheap bins are seven inches tall and need at least seven and a half inches of clearance to slide in. If your bed sits lower than that, you need shorter bins or a riser set under the bed frame legs.
Organizer 4: magnetic strip on the wall
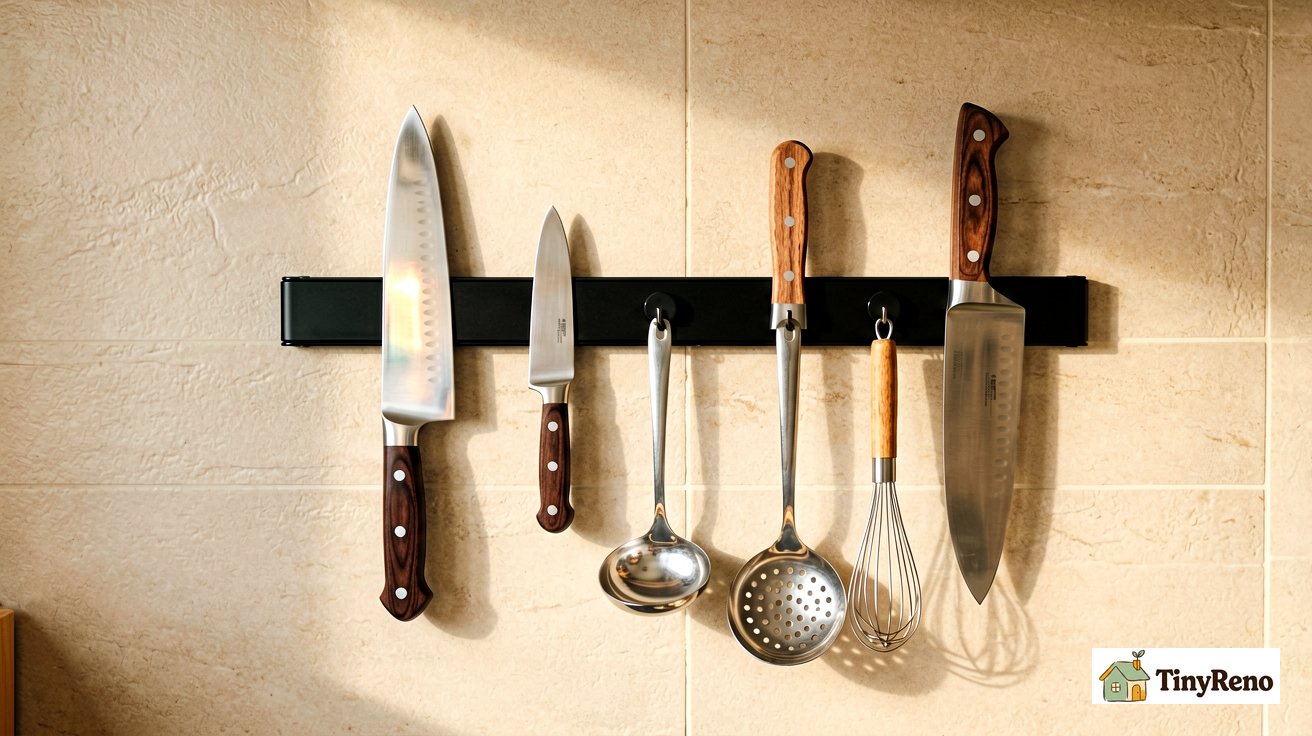
A magnetic knife strip is the most underrated small-apartment storage move I have found. Mount it on the wall above the counter, stick your knives, scissors, and metal utensils to it. The drawer that was full of knife blocks and sheaths goes back to holding other things. The counter that had a knife block in the way goes back to being usable.
The key word is magnetic. Cheap strips that hold only heavy forged knives will not grab lightweight kitchen shears. Spend the extra few dollars for a strip rated for at least a pound of pull per inch.
Most strips come with screws. For a rental, the better option is a 3M VHB adhesive strip rated for the weight. VHB holds on painted drywall for years if you press it properly and let it cure for 24 hours before hanging anything on it. When you move out, you peel it off with a hair dryer and any adhesive residue comes off with a little Goo Gone. No holes.
Three more organizers that earn their space
Once the four main organizers were in place, I filled in gaps with three smaller things.
Tiered shelf inside the bathroom cabinet. A two-tier expandable shelf raises the back row of bottles so you can see what is behind them. Took five minutes to install, recovered the entire bottom of the cabinet for towels.
Hooks on the inside of cabinet doors. Three adhesive hooks on the inside of the kitchen cabinet door hold measuring cups, a small colander, and the dustpan. Items that used to live in a drawer now live where I actually use them.
A small rolling cart in the gap next to the fridge. Every small apartment has a weird gap between the fridge and the wall that is too narrow for a real piece of furniture. A three-tier rolling cart fits there, holds cans and dry goods, and rolls out when I need to clean behind the fridge. It cost about thirty dollars and has saved more space than anything else I bought.
What I bought and then stopped using
Not every storage product earns its keep. A few that did not work for me in a 450 square foot apartment.
The over-the-chair organizer, the kind that drapes over the back of a sofa or desk chair with pockets for remotes and magazines. The pockets sagged within a week and the whole thing slid off the chair every time I stood up. Returned.
Clip-on desk accessories, the trays and holders that clamp onto the edge of a desk. The clamps require a desk with a flat, straight edge. In a small apartment the "desk" is often a kitchen table, a console table, or a fold-down wall shelf. None of those are clamp-friendly. Returned.
Stackable plastic drawer towers. They look like a great idea in a store. In practice they need a square of floor space, they wobble when fully loaded, and the drawers themselves are usually too small for anything useful. The under-bed bins are better in every way for the same amount of stuff.
Total wasted money across the three: about sixty dollars and an hour of rearranging. Not catastrophic, but avoidable if you measure your space and your actual habits before you buy.
Ninety days later: what stayed, what moved, what is gone
Three months in, the seven organizers I keep recommending have settled into their final positions.
Still exactly where I put them on day one: the over-the-door shoe organizer, the cabinet tension rod, the under-bed rolling bins, the magnetic knife strip, the tiered bathroom shelf, and the rolling cart by the fridge. Six out of seven, unchanged.
Moved once: the cabinet-door hooks. I started with them in the kitchen. After about a month I moved them to the bathroom cabinet door, where they now hold a hair dryer, a flat iron, and a small bag of hair ties. That move made both rooms work better.
Gone: the tiered shelf in the kitchen cabinet. I did not end up using the upper tier after the first month, so I removed it. The kitchen cabinet works fine as a single-tier space, and the bathroom is where the second tier actually earns its keep.
The point is not to nail the configuration on the first try. The point is to set up the systems cheaply enough that moving them around later is no big deal.
The maintenance habit
About every three months I do a fifteen-minute walkthrough. I look at each organizer and ask whether it is still earning its space. If something has been empty for a month, it gets repurposed. If something has been overflowing for a month, I look at whether the items actually need to live there or whether they should be donated.
This is the part that turns "I bought organizers" into "I have a system." A static arrangement slowly turns into another form of clutter as your stuff changes with the seasons. A short walkthrough every few months keeps the system honest.
The seven organizers I have now are not the same seven I started with. They are the seven that survived the walkthroughs. They cost about a hundred and twenty dollars total. They have replaced maybe six hundred dollars of furniture I would have bought if I had more space. And they all come with me when I move.
Discussion (0)
Sign in to join the discussion