

I spent six months testing six kitchen backsplash options in my rental in Atlanta—mostly peel-and-stick, with one screw-mounted exception—to find out which one actually comes off without costing me my deposit. My landlord, Mr. Howell, has managed this fourplex for 22 years and keeps a magnifying glass in his desk drawer for move-out inspections. I wanted to know which option would survive that magnifying glass.
The kitchen is a galley, 9 feet long, with a 12-square-foot backsplash area between the laminate counter and the upper cabinets. I divided that area into sections and tested one product per section, not one product over the whole wall. The wall is contractor-grade semi-gloss white, painted in 2019. I photographed each section at install and at intervals, and had Mr. Howell walk the wall at month six to tell me what he would charge. Two came off essentially clean, two left visible residue or holes, one he asked to keep, and one was clean underneath but looked bad for two months. Here is what six months of living with the test wall actually taught me.
If you want the short version: the vinyl peel-and-stick tiles came off the cleanest, the ceramic peel-and-stick was the most expensive failure, and the PVC subway tile was the only option Mr. Howell offered to leave up after I moved out. Buy the cheap vinyl for small sections. If you want something that looks like real tile, the PVC subway is worth it — but only if you are sure you will like it, because it is a pain to remove.
The cheap vinyl tiles: the surprise winner
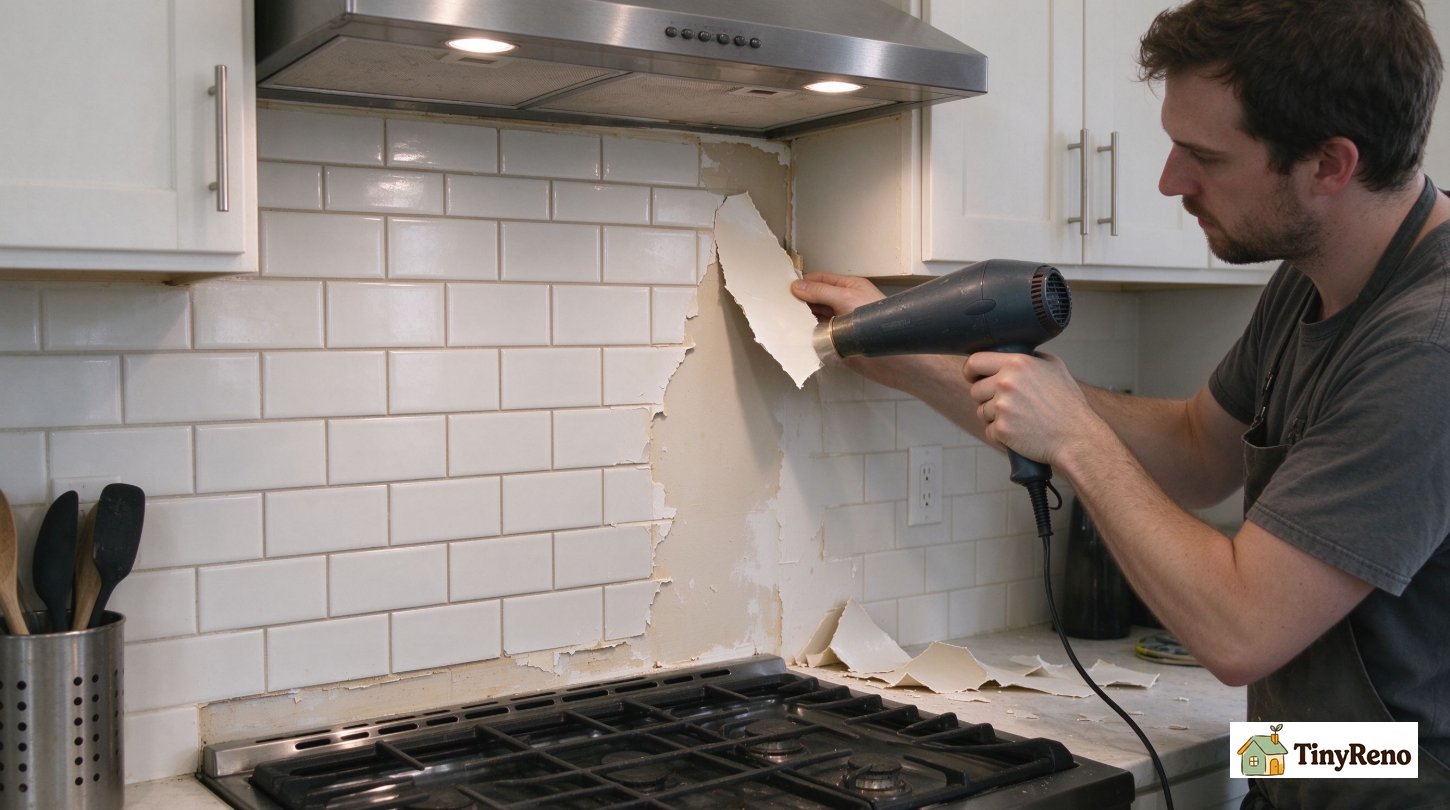
The first product I tested was RoomMates StickTILE, a 4x4 inch vinyl subway tile from Target, $14.98 for a 10-pack. I put ten tiles up on January 14, using a utility knife and a straightedge for the corner cuts. The instructions say to clean the wall with rubbing alcohol first and wait 48 hours before getting the tiles wet, which I did — this matters, because skipping the alcohol step is why most peel-and-stick installs fail in the first month.
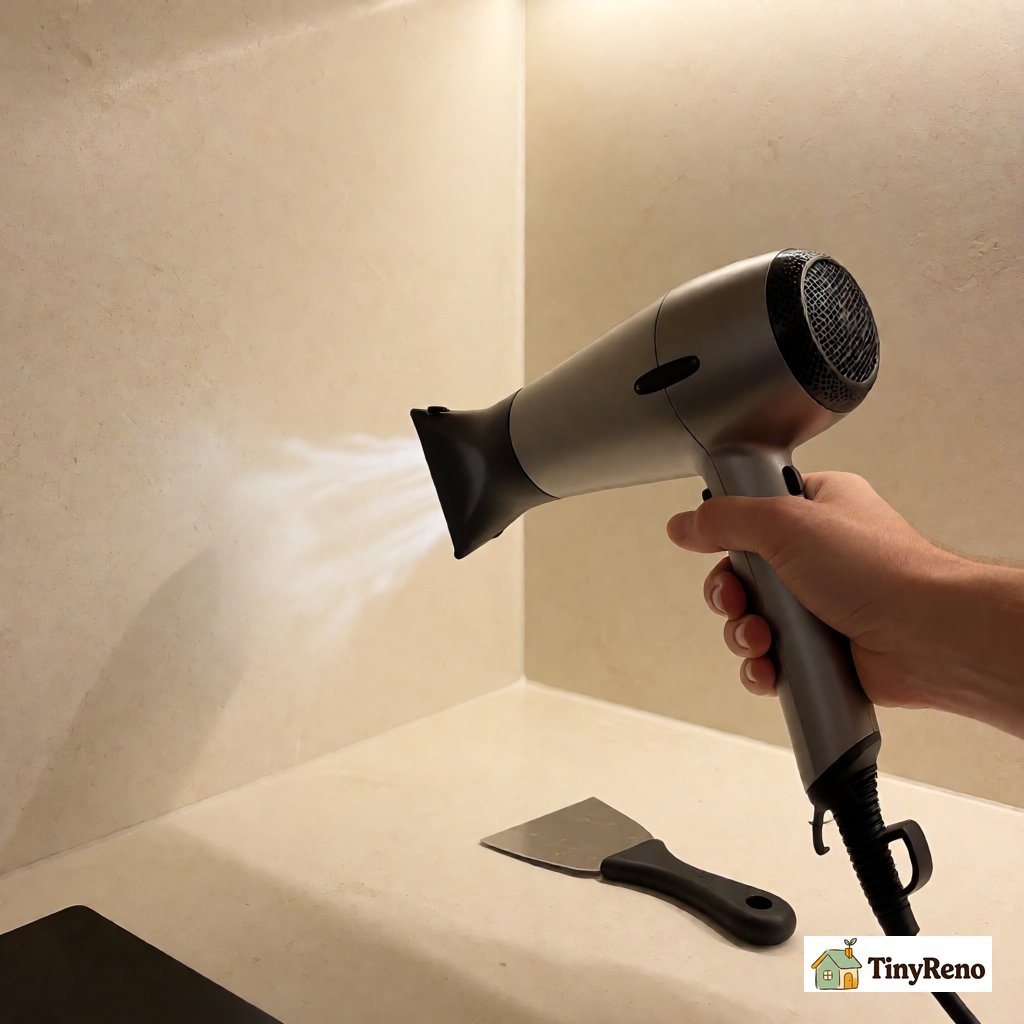
At two weeks they looked fine. At month one, still fine. At month three, I noticed a faint yellowing near the stove, which is inevitable with any vinyl product near heat, but the seams had not lifted. At month six I removed them with a hair dryer on low, pulling each tile at a 45-degree angle. They came off in about ten minutes total. The wall underneath was nearly clean — a few faint adhesive marks that wiped off with a damp cloth, but no paint damage, no discoloration between covered and uncovered sections. Mr. Howell looked at the wall behind the stove and said, "What backsplash?"
This is the option I would recommend to anyone who wants something that comes off clean. It is not the prettiest tile on the market, and it will yellow slightly near the stove over time, but it and the wallpaper were the only two that came off without a scraper or Goo Gone—and the vinyl left the cleaner surface, with no two-month bubbling problem. The 10-pack covered about 1.1 square feet—enough for the section I tested. Covering the full 12-square-foot backsplash would have taken about 11 packs, or roughly $165 at that unit price. Per square foot, it was still the cheapest option in the test by a factor of about two.
The ceramic peel-and-stick: the expensive lesson
The second product was Aspect Peel and Stick tile, a 3x6 inch ceramic tile from Home Depot, $34.97 for a 5-pack. I put five tiles up next to the vinyl ones on the same day. They looked sharper at first — real ceramic, real gloss, genuinely looked like tile from a foot away.
By month one, two of the five had lifted at the top edge by about a millimeter. By month three, all five had lifted at the corners. The adhesive had bonded unevenly to the semi-gloss paint, and the tiles were starting to curl. At month six I tried to remove them. It took two hours. The tiles came off, but the adhesive stayed on the wall in a checkerboard pattern, and I had to scrape it off with a plastic scraper and then go over it twice with Goo Gone to get the residue up. The paint underneath had a faint shadow where the adhesive had been — not a scratch, but a discoloration that showed up under the magnifying glass.
Mr. Howell looked at that section and said, "That one is going to cost you." The deduction was $85, for repainting the section. This was the most expensive option in the test, and the most damaging. The lesson: ceramic and rental drywall are not friends. The adhesive on ceramic peel-and-stick is stronger than the bond between the paint and the wall, which means when you remove the tile, you risk pulling the paint off with it.
One note on the $85 deduction: in many US states, a landlord cannot charge for normal wear and tear. A faint adhesive shadow on a painted wall might qualify as normal wear, and you can challenge it. But arguing with your landlord over $85 is usually not worth the relationship, especially if you plan to renew. I paid it, and I will not buy this product again.
The removable wallpaper: pretty, but it does not last near heat
Third was Tempaper removable wallpaper, $32 a roll from Amazon. A 2-foot strip with a Moroccan tile pattern. I put three strips up on January 15. It looked great for the first month — the beige pattern made the wall feel like a real renovation, not a rental hack.
By month one, the seams near the stove had started to bubble. By month three, one strip had a visible gap at the corner. The heat from the stove was breaking down the adhesive from the back. At month six, the wallpaper came off in about five minutes because the adhesive had already failed in all three strips — the wall underneath was clean, but the seams had been visible for two months, and Mr. Howell noticed them on a routine check in April.
He did not charge me for the bubbling, because the wall was clean underneath, but he did say, "I would not buy that again." This option is reversible but not durable. It works fine for a backsplash that is not near the stove, but if you put it near heat, it will fail in under three months. Total cost: $32. Total damage: zero, but two months of visibly bubbled seams that looked sloppy.
The beadboard panels: durable, but they leave holes
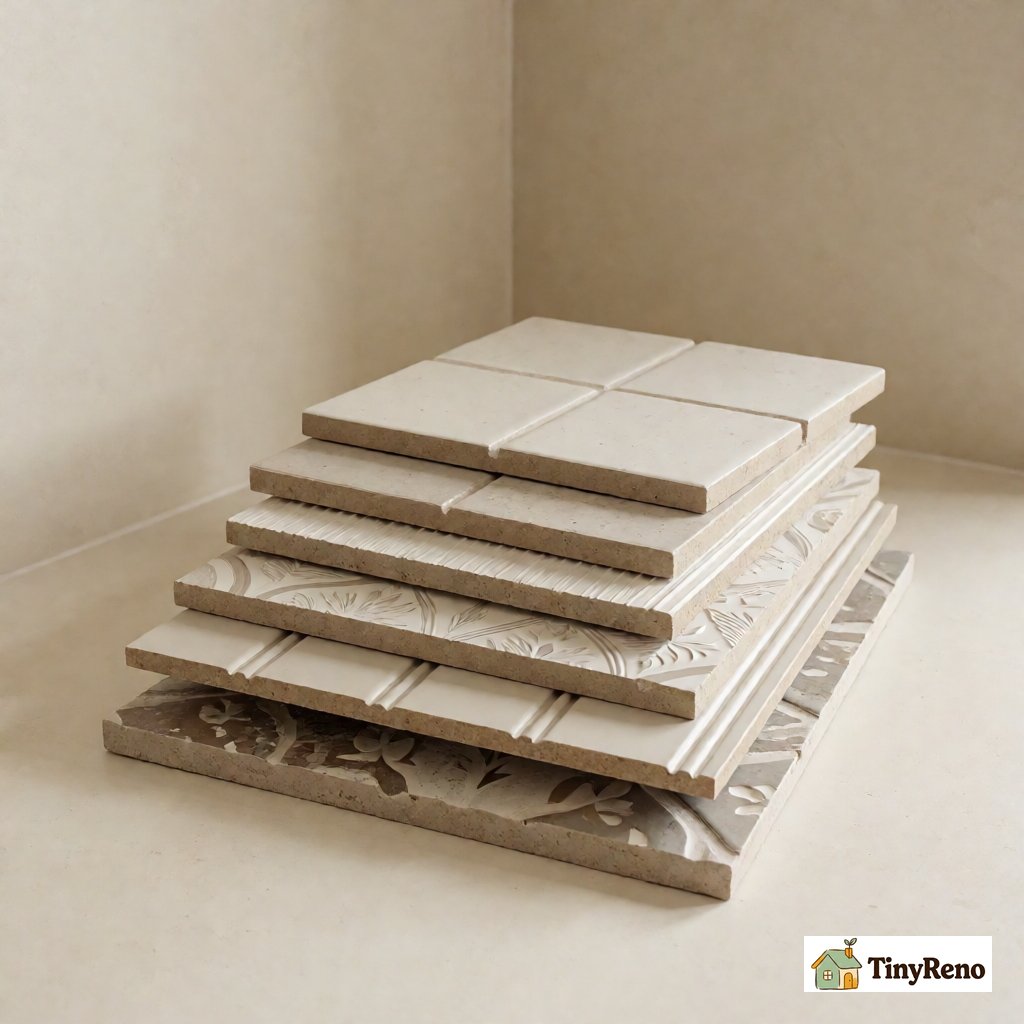
Fourth was beadboard panels from Home Depot, $32 for a 4x8 sheet. This was the one screw-mounted option in the test. I cut one sheet into three 16x36 inch panels and mounted them with six drywall screws on January 16. It looked handsome — like a cottage kitchen, honestly.
The panels stayed put for six months. No movement, no warping, no issues. But at removal, the six screw holes were visible, and I had to fill them with spackle, sand, and touch up the paint. Mr. Howell inspected the holes and said the spackle work was "good enough for normal wear" — no deduction for the holes, but I spent $22 on materials and 90 minutes on patching and painting after removal.
This option is durable but not truly reversible. You can take the panels down, but the wall is not unchanged. If you are in a rental and you want something that comes off without patching, this is not it. If you plan to stay for a few years and you are good with a spackle touch-up at move-out, it is fine. Total cost: $54. Total time invested: 90 minutes of patching after removal.
The PVC subway tile: the one the landlord wanted to keep
Fifth was PVC subway tile from Lowe's, $28 for a 10-pack. 2.4x4.7 inch PVC panels with a peel-and-stick backing and a faux-grout line printed on the surface. I put ten panels up on January 17. The PVC was thicker and more rigid than the vinyl, with a slight gloss finish that read as real tile from across the room.
At month one, no movement. At month three, two of the ten panels had lifted at the seam by about a millimeter — probably from the steam. At month six, I removed two panels to test reversibility. They came off cleanly with a hair dryer, and the wall underneath was clean. The other eight are still on the wall, because when Mr. Howell inspected on June 30, he looked at the PVC section and said it "looked like the kitchen was always this way." He asked if he could keep them if I signed another year.
I have not signed yet, but I am leaning yes. This was the surprise of the test: durable, reversible on the parts I removed, and the only option the landlord wanted to keep. The PVC looks enough like real tile that the landlord would rather keep it than repaint. If you want something that looks like a real renovation and you are confident you will like it, this is the option. The catch: it is more of a pain to remove than the cheap vinyl, and the steam near the stove will eventually lift a seam or two.
The acrylic mirror: the worst reversibility
Sixth was acrylic mirror panels, $24 for a 4-pack from Amazon. 12x12 inch acrylic mirrors with a peel-and-stick backing. I put four panels above the stove, where the wall had been hardest to cover. They reflected light and made the galley kitchen feel bigger — that part worked.
At month one, one panel had a visible adhesive ring at the corner. By month three, the rings had spread to three of the four. At month six, I removed all four with a hair dryer. The panels came off, but the adhesive rings stayed on the wall, and it took two passes with Goo Gone to get them off. Mr. Howell inspected and said, "What is that ring?" It was faint, but it was the only damage he noticed without the magnifying glass. He did not charge me — he called it "minor wear" — but it was the worst reversibility in the test.
Skip the acrylic mirrors. They look great for the first month, and the adhesive residue is a pain to remove. Total cost: $24. Total damage: faint adhesive rings that took 30 minutes to clean off.
After six months and one move-out walk, if I had to do it again, I would buy the cheap vinyl peel-and-stick for the small sections, and I would consider the PVC subway tile for the main backsplash—but only if I was sure I would like it, because it is a much bigger project to remove than the vinyl. I would never buy the ceramic peel-and-stick again. I would skip the acrylic mirrors. The wallpaper works if you keep it away from heat. The beadboard works if you are okay with spackling six holes at move-out.
One thing I wish someone had told me before I started: if your wall was painted within the last six months, do not put peel-and-stick anything on it yet. The paint may not be fully cured, and the adhesive may not bond properly. Wait at least a full heating season, or the tiles will start lifting within a month. This is the step that most online tutorials skip, and it is the reason half of the peel-and-stick backsplash horror stories exist.
The other thing: clean the wall with rubbing alcohol before you stick anything on it. Wipe off the dust, the grease residue from cooking, the kitchen grime. If you stick a tile to a dirty wall, it will fall off within weeks, and you will blame the product. The product is fine. The wall was dirty.
Mr. Howell walked through on June 30, looked at the wall behind the stove where the vinyl tiles had been, and said "What backsplash?" That is the answer I would give a friend signing a lease next month: the cheap vinyl comes off clean, the PVC looks like real tile if you want to spend the extra $13, and the ceramic will cost you $85 when you leave. The two failures are still in their boxes in the garage, the vinyl tiles are in a kitchen drawer in case I need a patch, and the PVC subway tile is still on the wall behind the stove, waiting for me to decide whether to stay another year.


Discussion (0)
Sign in to join the discussion