

I am Tony. I run a one-man plumbing service out of Madison, Tennessee, and the question I get most in January and February is how to stop a water heater leak from the top. The first sign is a sound you do not recognize: one drop falling onto another drop that is already sitting on a metal surface. I heard it at 11:40 on a Saturday night in February 2025 in my rental duplex on Gallatin Pike in Nashville. By the time I flipped on the closet light, the drop had become a thin sheet running down the cold water supply line onto the drip pan and over the edge onto the utility-room floor. The pan was full because the drain line had not been tested since I moved in eighteen months earlier; the floor was laminate that hates standing water, and the water was still hot. I had a wrench and a bucket, and I had stopped about four hundred of these fittings in fifteen years of plumbing work, so I knew what I was about to find before I got on my knees. The question was whether the leak was the fitting, the supply line, or the anode rod port, and whether I could fix it in thirty minutes or would have to call a plumber I trusted.
What I was about to do on my own water heater at 11:42 on a Saturday night is the same work I do most in January and February. Cold supply line fittings crack on top of water heaters because the dielectric union between the copper pipe and the steel nipple corrodes at a different rate than either material alone. The corrosion builds over ten to fifteen years until the threaded seal starts weeping. The weeping looks like a slow drip, smells like a damp basement, and lands where you cannot see it until the pan overflows. If you are reading this because your water heater is leaking from the top and the pan is full, the four steps below are the same ones I run on customer calls in East Nashville, Inglewood, and Donelson every winter. Total time is about thirty minutes; total parts cost was $4.17.
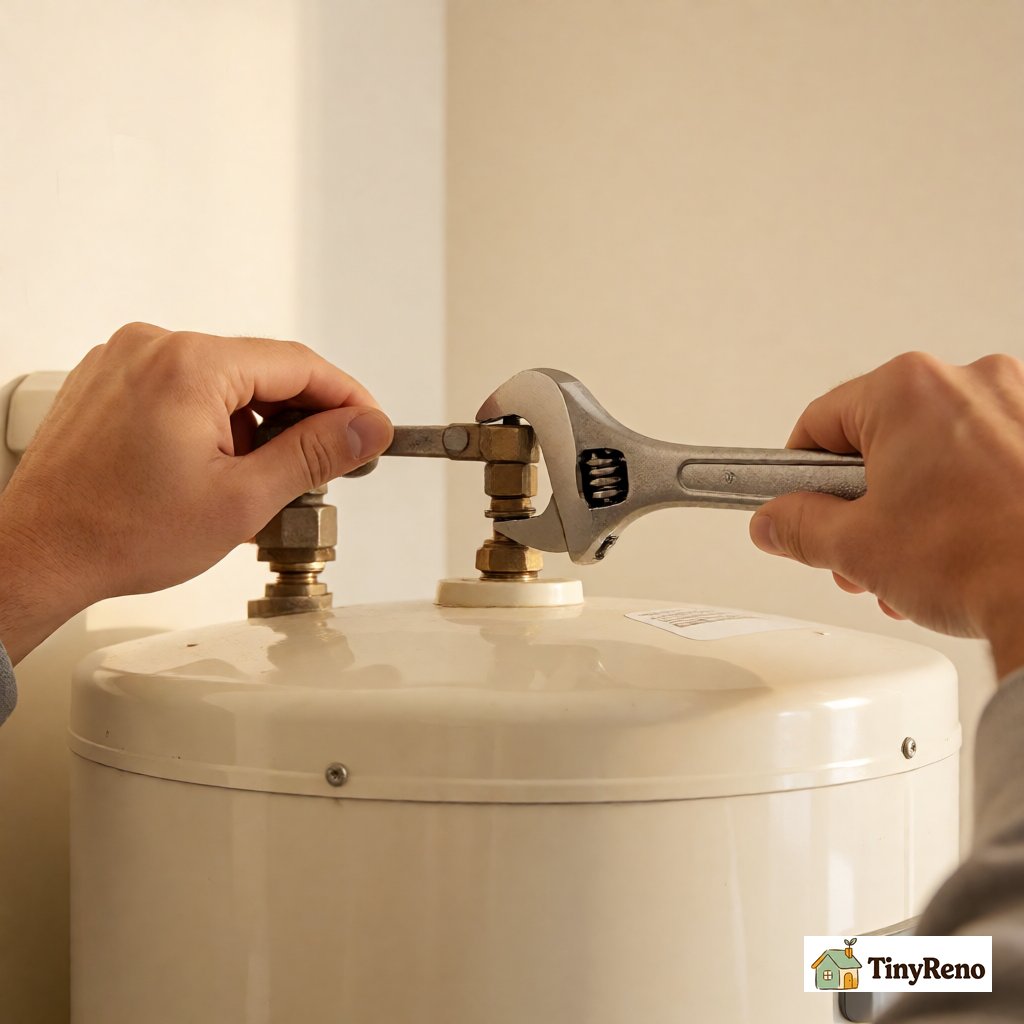
How to stop a water heater leak from the top in 30 minutes
Before the four steps, I take photos of the floor, the pan, the leak source, and the water meter reading with a visible timestamp, then email them to myself so I have a record. If the leak damaged the floor or the unit below, renter’s insurance will want the timestamp, the model number of the water heater, and the layout of the closet before I touch anything. The photos also give me a comparison point if the leak comes back. I took four photos in about ninety seconds and put the phone back in my pocket.
Step one is to kill the water supply and the heat. The cold-water shutoff valve sits on the right side of the water heater as you face it, and on most residential tanks it is a round brass gate valve or a quarter-turn ball valve. I turned mine clockwise until it stopped, then waited thirty seconds to see if the drip slowed. It kept the same rate for about ten seconds, then slowed to one drop every four seconds, which told me the valve was working but the lines between the valve and the tank still held water. I then turned off the heat source: on a gas water heater, the gas control dial at the bottom front set to “Pilot”; on an electric water heater, the breaker labeled “Water Heater” switched off. The reason for killing the heat is that the tank and lines stay hot, and I did not want to be on my knees in three inches of water with one hand on a wrench and the other on a 140-degree fitting. Step one took about two minutes, including the wait for the drip to settle.
Step two is to relieve pressure so residual water stops dripping when I open the fitting. The cold side is the inlet, the hot side is the outlet, and the air pressure on top of the tank is what moves the water. I opened the closest hot-water faucet in the bathroom, ran it until water stopped coming out, closed the faucet, and left the water heater’s drain valve open into a five-gallon bucket. The drain valve is the small plastic or brass spigot on the lower front of the tank; on my unit it took a quarter turn counter-clockwise with a flathead screwdriver. About two gallons came out in ninety seconds, and once the bucket was half full the drip on top slowed from one drop every four seconds to one drop every twenty-five seconds, which told me the pressure was relieved. Step two took about five minutes, including the trip to the bathroom and back with the bucket.
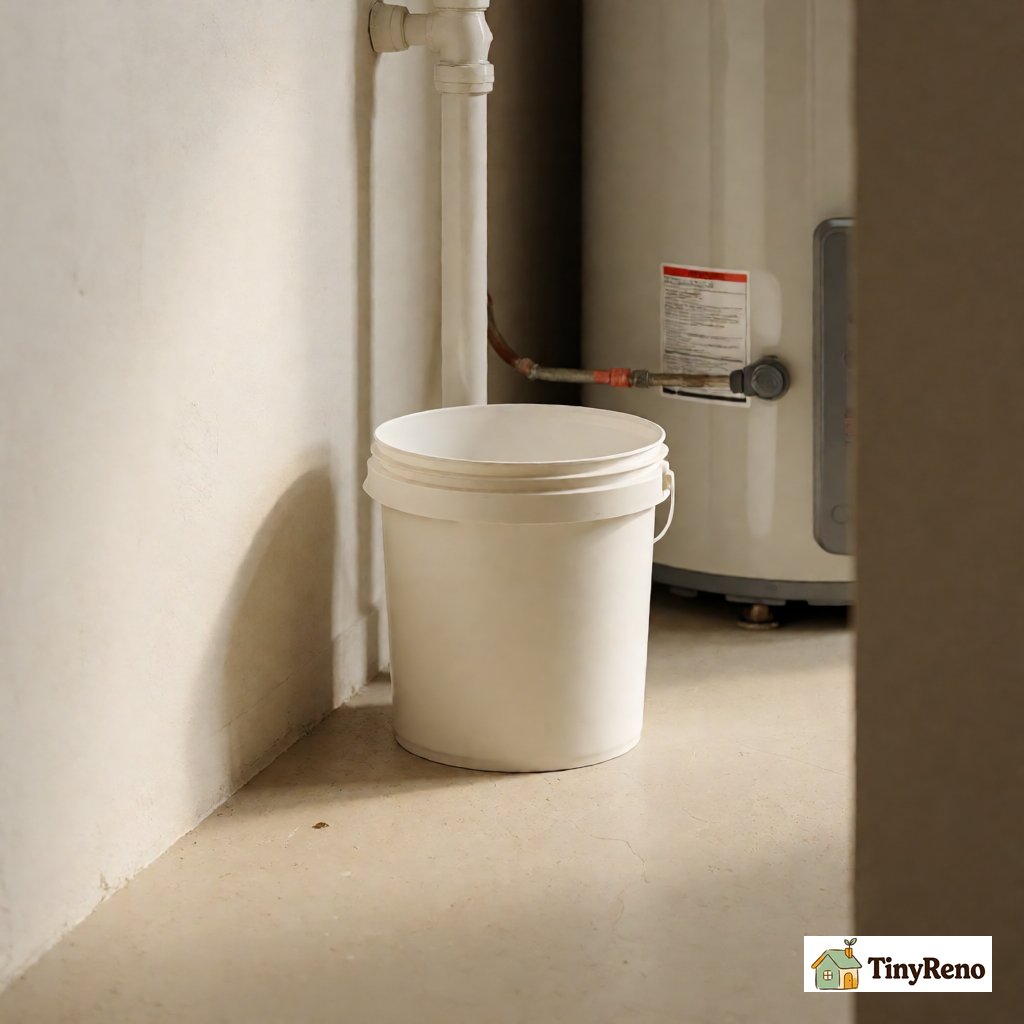
Step three is to identify the leak source, which on a top leak is almost always one of three places. First, the cold-water inlet on the right side: a brass or plastic nipple threaded into the steel tank, with a dielectric union or flex connector above it. Second, the hot-water outlet on the left side, same construction but usually less corroded because it carries treated hot water. Third, the anode rod port on top of the tank, a hex-head plug that gives access to the anode rod inside. On my unit the leak was the cold inlet dielectric union, the most common of the three in my experience. The drip was running down the cold supply line and pooling on top of the tank, and the corrosion stain was the greenish-white of copper corrosion, not the reddish-brown of steel corrosion. Step three took about four minutes, mostly to dry the area with a microfiber cloth so I could see where the new drip was forming.
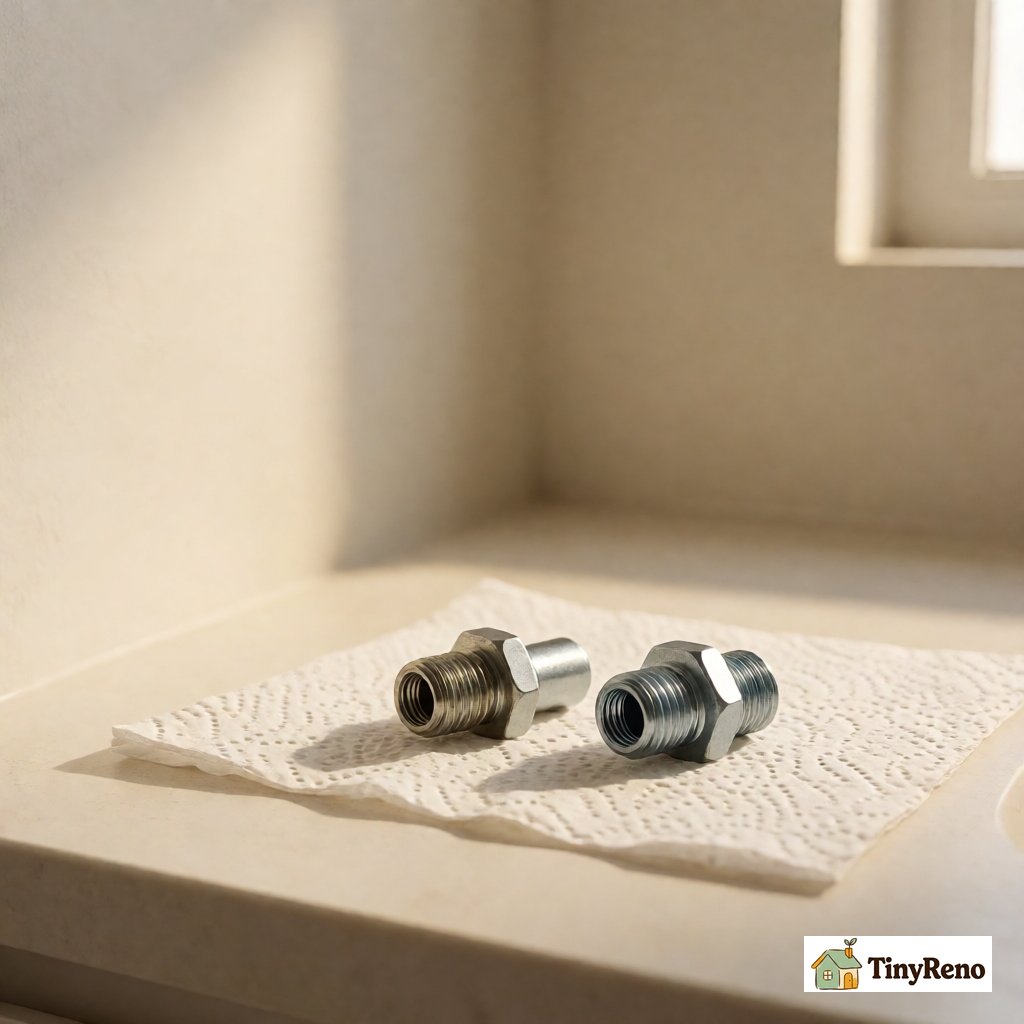
Step four is to take the fitting apart, replace the failed seal, and reassemble. On a dielectric union, the failed seal is usually a rubber gasket or fiber washer at the threaded joint. I put a second bucket under the cold inlet, cracked the union nut counterclockwise with an adjustable wrench, and held the lower fitting steady with a second wrench so I did not torque the steel nipple. About half a cup of water came out—all that had been sitting between the valve and the tank. The old gasket was a fiber washer compressed to about half its original thickness, which is what causes weeping after ten or fifteen years. I found a matching washer in my service bag; a four-pack at a home center costs $3.99, which is where the four-dollar estimate came from. I also used new Teflon tape, about $1.18 at Lowe’s on Nolensville Pike. Step four took about twelve minutes, including the trip to the garage and back. The whole sequence is shorter than most blog posts make it seem, and that matters to a renter in February.
Step five is the test: put the system back under pressure and watch. I closed the drain valve and the bathroom faucet, then opened the cold supply valve slowly—a quarter turn, wait thirty seconds, then the rest of the way. I kept my hand on the union for about three minutes and watched for a new drip. None came. I ran hot water at the kitchen sink for two minutes and watched again. None came. The fix was the washer, the same fix I do on about thirty water heater service calls every winter between December and March. Step five took about seven minutes, including the hot-water test at the kitchen sink.
The entire job, from flipping on the closet light to finishing the test, took about thirty-two minutes. Cost was $0 for the washer from my stock (or $3.99 if you buy a four-pack), $1.18 for Teflon tape, and nothing for the trip to Lowe’s. A plumber would have charged $145–$275 for an emergency weekend visit lasting about the same thirty minutes. The fix was simpler than I had feared; I had spent two years worrying about a leak I knew how to fix in five steps, because the alternative to knowing was a $175 phone call I was not ready to make.


Discussion (0)
Sign in to join the discussion